
One of our favorite followers, Jodi, updated her outside house lights with this beauty found at Lowes. Jodi paid a sale price of $30 for each light!


It makes such a difference from the standard builder lights. Thanks for the great inspiration Jodi. Because of you, I re-did the lights at my house. Here's a step by step tutorial for how you can change your lights as well. Yes ladies, I did it by myself. You can too.
Step 1: Turn off the breaker for your outside lights. Your breaker box is in your utility room in the basement.
Step 2: Remove the wing nuts on the front of the light and remove light from bracket.

Step 3: Disconnect the wires, ground wire, and remove old bracket plate.
Step 4: Attach new bracket plate.
Step 5: Attach copper wire from light to copper wire coming out of socket and wrap around green bolt labeled "gnd".
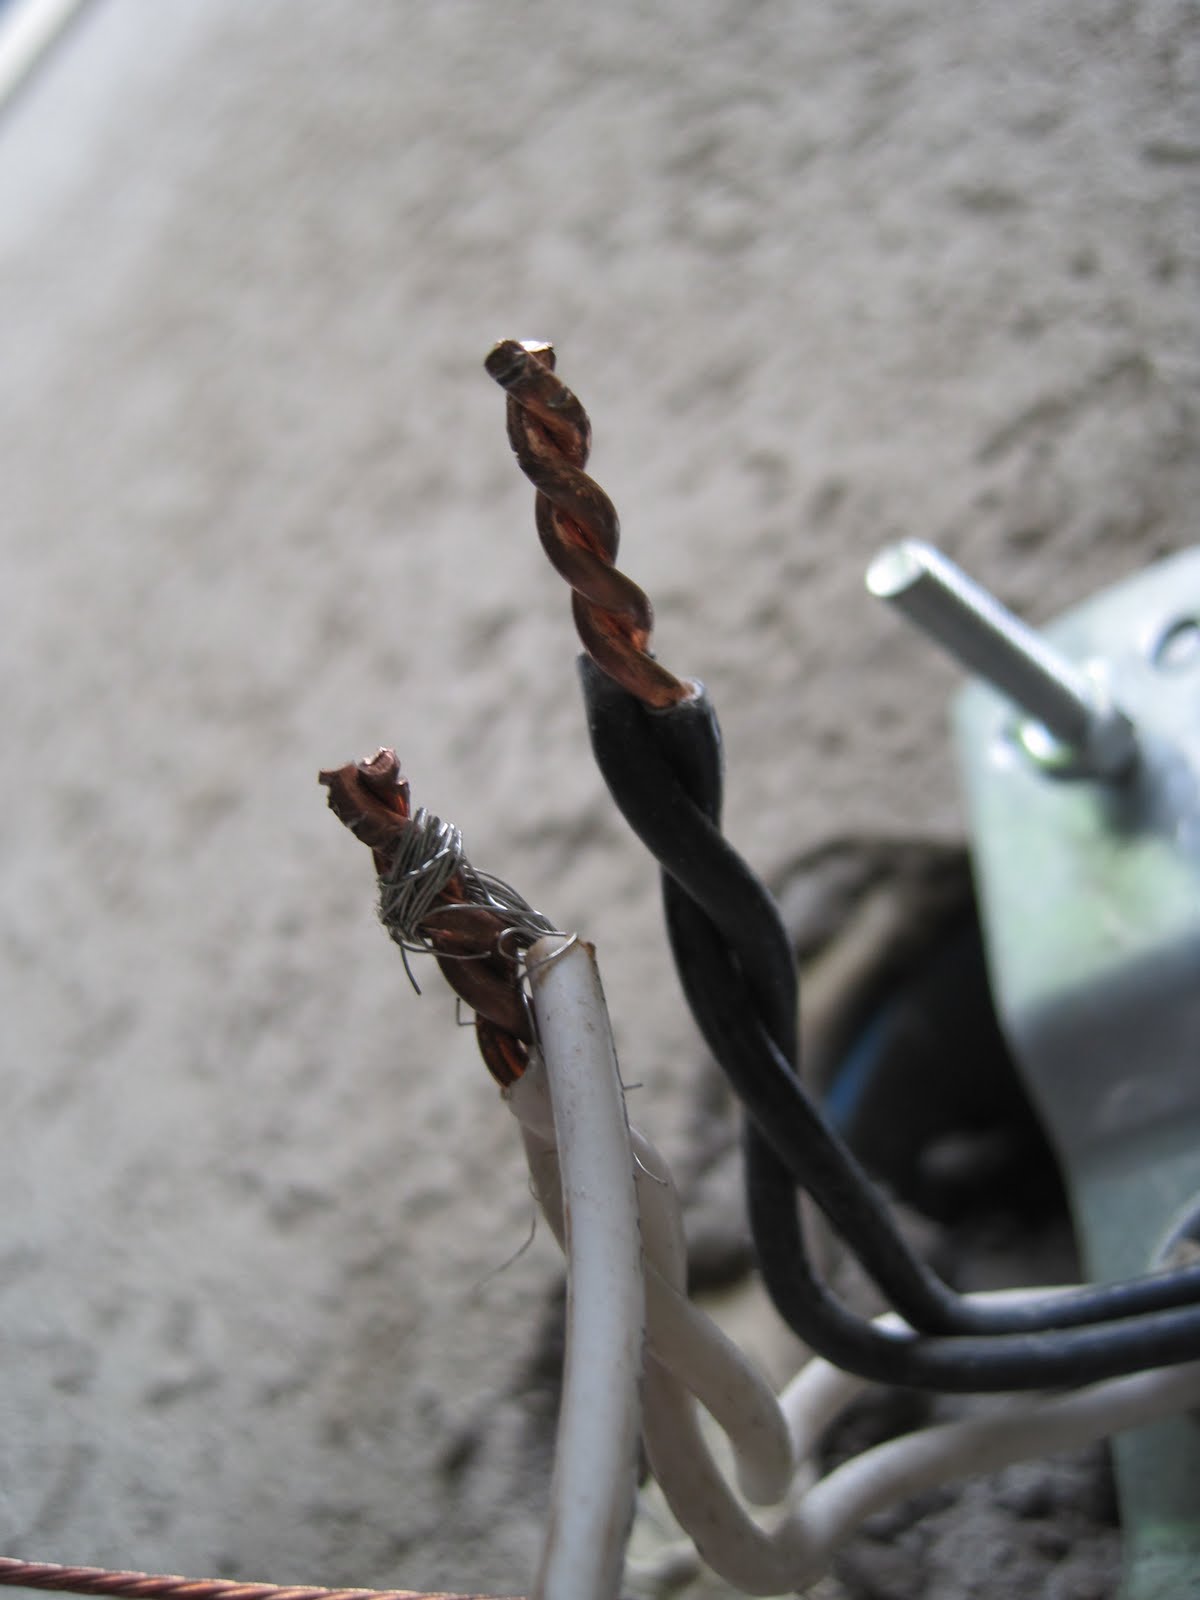
Step 6: Attach white wires to white wires wrapping exposed end around wire from socket. Cap with eletrical cap. Twist cap until tight.
Step 7: Repeat with black wires.

Step 8: Screw wing nuts on to front of light until snug. Will need to use an adjustable wrench to get them tight.
Step 9: Insert light bulb.
Step 10: Restore power by turning on breaker.

I love how these look. I purchased them at Lowes for $23 each.


$70 was money well spent to enhance my home with new lighting. This really is an easy update for anyone to do. Simply, follow the steps above and trust that you can do it!
I SO AM one of your favorite followers! Love the blog and am so glad you do it. And for as much inspiration you guys give me, I'm glad I could throw a little back! :0) All of these housing projects are just way too much fun. You are a good woman for doing your lighting yourself. Very impressive. I make hubby do mine.
ReplyDeleteI found mine at Lowe's also. They had a much better selection IMO. :)
ReplyDeleteI actually spray painted my old ones and they look brand new and much nicer!
ReplyDelete