Showing posts with label Kid's room. Show all posts

Tuesday, October 4, 2011

My version of the IKEA shelf leg...

Lisa and I rant and rave about our finds at IKEA and so far they haven't disappointed...until an item you want badly goes on back order and who knows if they'll ever get it in again!  I checked and checked to no avail.  So one day Lisa and I went into the store and saw the same thing in the wrong color.  Of course Lisa tells me to fix my problem and just buy the black and paint them.  My lazy pregnant attitude doesn't want to, but in the end I know my frustration will be gone.  And I'm so glad I did because I think it turned out better than the original plan!  So...nothing a few strokes of paint can't fix!
Their shelves are very reasonably priced...$4 each for the legs and $7 for the shelf.  Here they are in the wrong black color...


I spray painted them white first to make the painting process easier.


I used the same paint color we painted Peyton's bed (Martha Stewart Hydrangea).  It's a nice tie in with the furniture.


And voila!  All done!


Free black lantern from my Grandpa's work bench, letter P (Hobby Lobby, $3) and bike ( Hobby Lobby, $12)


Repurposed baseball (originally from Roberts), repurposed white frame (IKEA, $10), metal jack (Hobby Lobby, $7) and marble jar (IKEA, $5, marbles $4 and free from Mom)


So the whole project including the shelf cost $56!  To decorate a whole wall that's a pretty great price!  I love to find new uses for existing decorations and also make great finds at little or no cost!  Very happy with the end results and Peyton's room is getting closer to being done!

Wednesday, August 24, 2011

Pennant Banner

Using the fabrics I showed you on Monday I finished Peyton's pennant banner!  I really love it and it will add so much to the finished look of his room.  I also did it without sewing one stitch!  Lisa is nice and helps me with my sewing projects but I was excited I learned how to do something without it too!  Here's how...

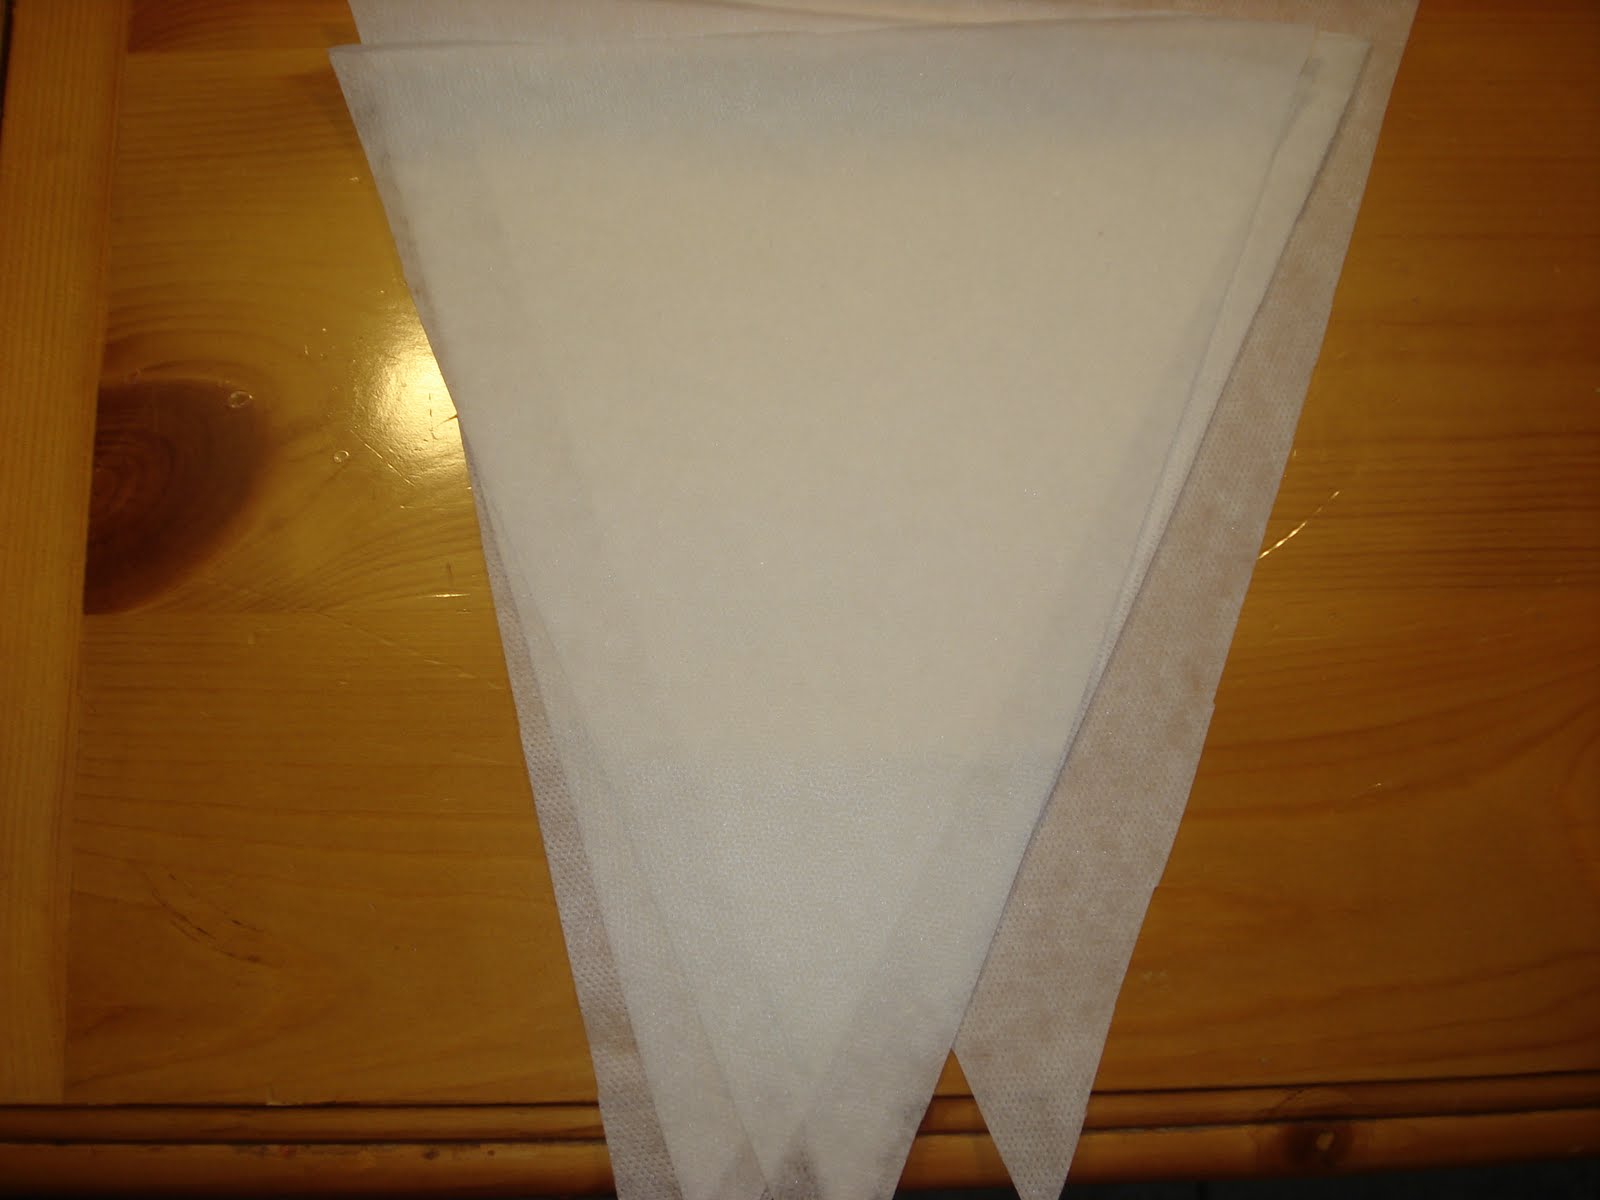
I started by cutting a pattern for my triangles out of cardboard.  It was about 8 inches across the top.


You can fold your fabric in half to get two triangles at once.  I traced the pattern with a pen and cut. 


To give the triangles thickness I used fusible interfacing (I bought two yards).  I bought it at Nuttall's in American Fork (53 W. Main Street).  I used the pattern to cut the same amount of triangles out of the interfacing (my banner ended up needing 14 triangles). 


To fuse the interfacing, you put the sticky side to the fabric (lining it up perfectly so they bond well), place a thin cloth over the top of the fabric, spray the cloth wet and slowly iron down the fabric...about 15 seconds for each section of the fabric.  The interfacing also comes with instructions on how to do this.


Once all the triangles were backed with interfacing it was time to tie them together.  I also purchased Stitchwitchery bonding tape at Nuttall's.  It's a thin interfacing type material about 1/2 inch wide.  You can't see it really well, but it's laid out on the top of this triangle...


I chose the lemon grass grosgrain ribbon from Walmart to tie the triangles together.  We attached two at a time by laying down the bonding tape first and lining the ribbon up perfectly on top of it.  Same process as above with bonding the interfacing.  You just don't want to do too many at a time so your ribbon stays straight and even. 


Once they were all attached to the ribbon we were done!  Really so easy!  I chose these small hooks from Hobby Lobby ($3.99 each) to hang the banner.


And here's the finished product!


Thanks for your help Lisa!  It turned out great and I can't wait to finish the room!

Tuesday, August 23, 2011

Making Old Things New

With a new baby coming its time for the bedroom shuffle.  McKay's bed from childhood has been sitting in our garage for years and we decided to refinish it...
My sister in law Melissa had refinished cabinets and instead of sanding they used a primer that worked right over finished wood.  So we decided to give it a whirl and avoid the sanding process.  It worked like a charm!
We've been through the painting process a few times on this blog.  We did two primer coats and two coats of this great blue color...Martha Stewart paint in Hydrangea (semi-gloss).  It matched a blue color in Peyt's bedding perfect. 

The last step was this laquer spray to give it a finish coat.  Lisa told me about it...much easier to use than the oil-based top coats!


And here is the bed all ready to go in his room.  I really love how it turned out!  Thanks to my husband McKay for his work on the project...I'm staying away from paint until January!


Don't let old furniture go to waste!  There's nothing a great color of paint won't fix!

Tuesday, July 26, 2011

Peyton's New Room

So I'm working on Peyton's new room for the basement.  My thoughts are vintage/summer/carnival/whimsical etc.  Here are the pieces I have so far (most not purchased or made yet...)

This was my first purchase for the room.  I splurged and did Pottery Barn because it was exactly what I wanted...I did buy it on sale :)

 Have plans to make one of these.  Found a great tutorial on this blog...
Photo courtesy of yourhomebasedmom.com
 Will be purchasing the MALM dresser from IKEA and adding hardware.  Can't beat $160!
 I mentioned Sarah Jane Studios a few weeks back but can't wait to order this as artwork...
 And I did purchase this darling green chair a few months ago at Forget Me Not in Lehi...


I have the beginning pieces...the process can begin!  Now looking for small, old metal trikes, wagons and other accessories.  I have a feeling I'm going to love this room...

Wednesday, May 11, 2011

A Quilting Memory

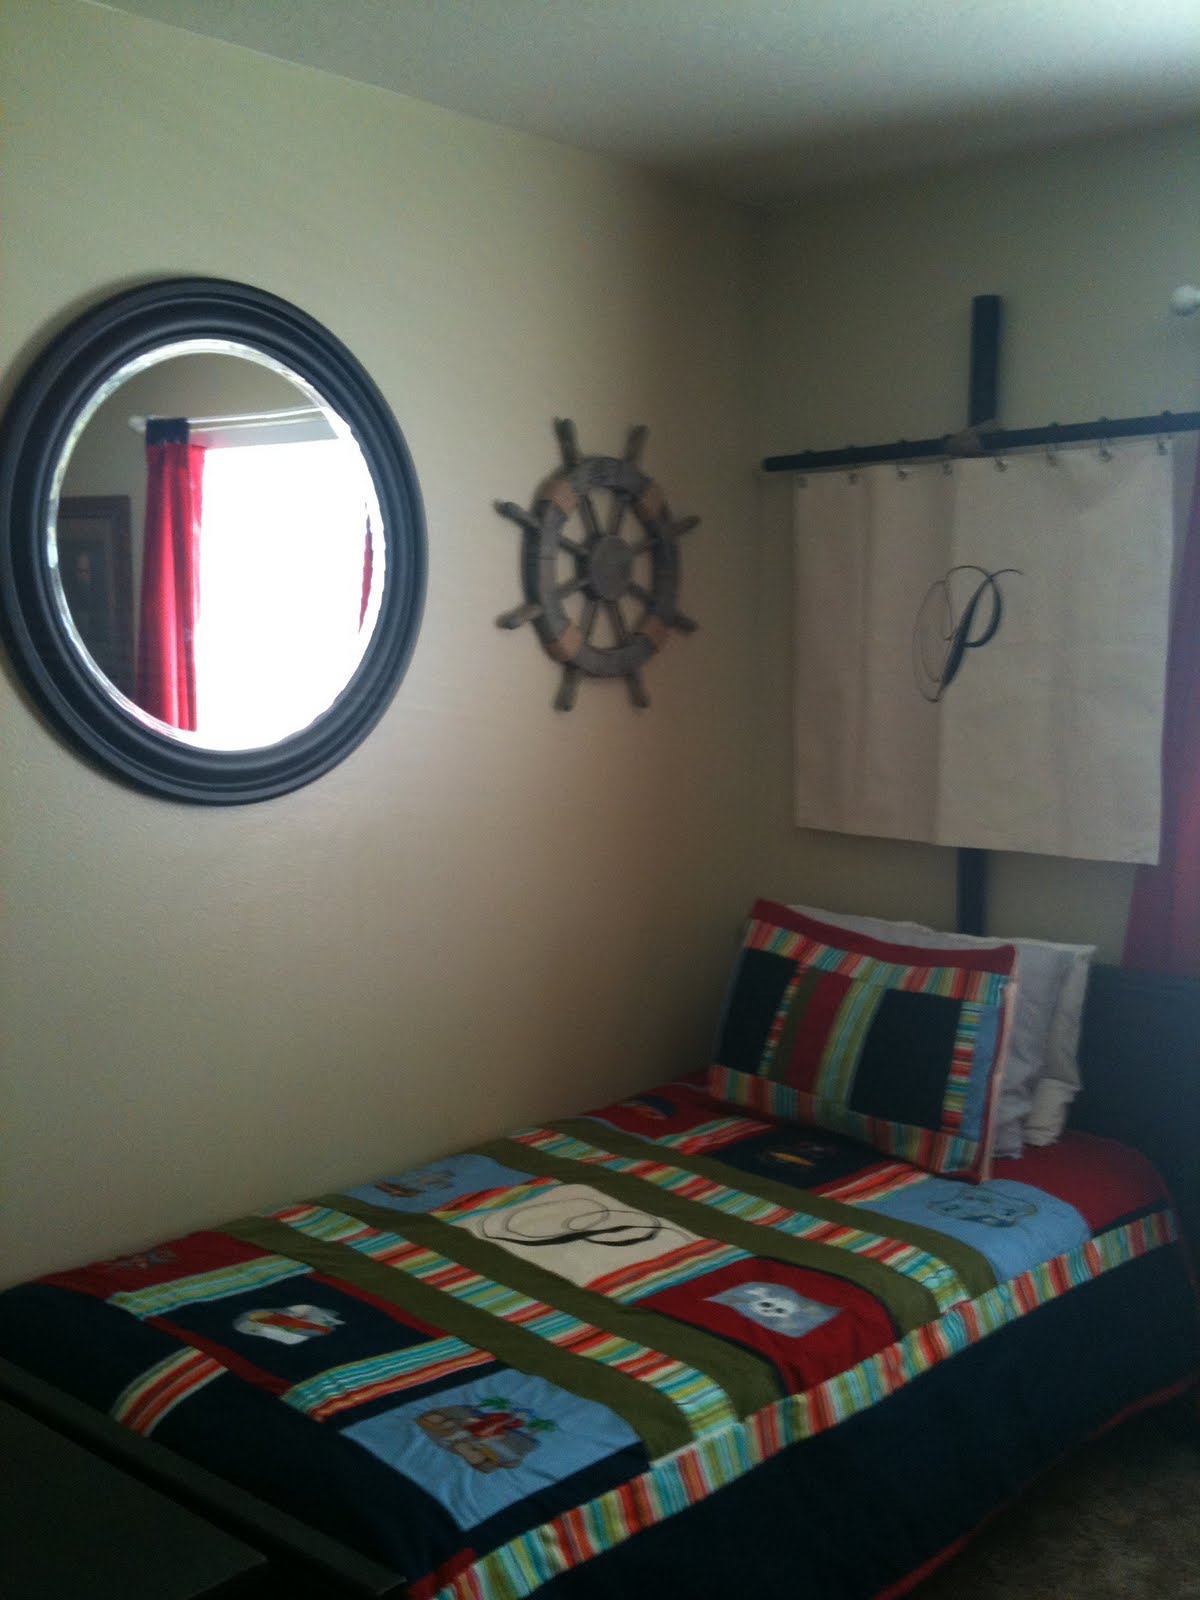
Here is Porter's new bedding for his pirate room.  Yes, I made the quilt.  It was the first one I did using patchwork piecing, and I loved it.  My mom has a new embroidery machine that we used for all the embroidered squares.  I used the same screenprinted "P" on his bed as on the sail.  I fell in love with the striped fabric from Quilting Cottage.  If you haven't been there, you must see their fabric selection.  It is incredible.  To make the quilt, I started by assembling the horizontal rows and then connecting each one. Lastly, I added the sides and back.  I busted out the pillow sham this afternoon. 

I wanted to make his bedding so that he would also have a keepsake to remind Porter of the year of the pirate.  This year, he has dressed like a pirate, acted like a pirate, had to have all kinds of pirate toys, watched "Pirates"; you name it, he's done it.  I am so proud that he'll have this quilt to remind him when he grows tired of the pirate themed room.  So proud of myself and totally checking off my Knowledge project for Personal Progress!

Tuesday, May 10, 2011

Setting Sail


I saw this in Pottery Barn and loved it.  However, I wasn't about to pay $99 for it, so I set out to make my own.  I used a round tree stake from Olsen's Nursery ($4), a dowel rod from Lowes ($2), twine,  and black spray paint to make the mast.  I simply used the jute twine to lash the two pieces of wood together.  I could go into ship building I know :).  To make the sail, I purchased a yard of heavy canvas for $10 and had it screenprinted for $15.  Then I used gromets from Hobby Lobby ($6), and shower curtain rings from Target ($6) to finish the sail.  So for a grand total of $43, I got the exact same look as the Pottery Barn inspiration for half the price.  I LOVE IT!!

Monday, May 9, 2011

A Pirate's Life for Me

Porter wanted a pirate bedroom, so I set out to find sophisticated accessories that would last beyond a juvenile themed room.  Enter Hobby Lobby where I found the mirror, ship's wheel, and anchor.  Usually, they will have their wall decor 50% off.  I used three 40% off coupons and spent $80 for all three.  I love the mirror as it reminds me of a porthole.


Check back all this week for the big unveiling!

Thursday, May 5, 2011

Best room in the house

Now that the playroom is finished I wonder where I put all the toys before!  It's so nice to have it organized and in its own room! 


The IKEA organizer is the best!  I'm also impressed that the $8 end table can hold up our beastly box television.  It weighs a ton!


IKEA now sells these great area rugs (they are about 2 1/2 x 2 1/2 feet).  They come in a number of different colors and are soft!


These body pillows are at Walmart for $8 and are perfect for two little heads to lay down and watch a movie or read a few books.  I have a vision to add a little book nook in this area of the room...I will share when its done!

Yes its quite pathetic how many toys we have...but if you ever design a playroom a closet full of shelves is a must!  It is SO great!

I've had friends tell me they have their kids share bedrooms so they don't have to give up the playroom...I can see why!  It's so great and has been a fun space to decorate!  Can't wait to find the last few finishing touches!

Tuesday, March 22, 2011

big.boy.bedroom

I decorated Peyton's room (my four year old) two years ago when he was moved from the nursery to make way for Chayce.  He was really into cars and anything with wheels so that's what we themed the room around.


Osmond Design has great pieces of furniture and are reasonably priced.  We skipped the toddler bed as I didn't want an extra piece of furniture laying around in a few years.  I don't spend very much at Pottery Barn, but did purchase his quilt and sham on clearance.   


We added beadboard and a shelf to one wall and painted the top part navy blue which added alot to the room.  Here shortly I'll add a beadboard tutorial...


These darling prints came from art.com and were around $8 each.  Frames are from Rod Works and were about $12 each. 


Hobby Lobby has a great selection of vintage cars, motorcycles and trains.


I fell in love with this airplane artwork the minute I saw it!  Unfortunately I went on a wild goose chase trying to find one!  I lucked out by posting an ad on KSL looking for one.  A lady let me know she had seen one in a back room at Osmond Design...sure enough it was there! 


Hobby Lobby also has cute metal signs and frequently put them 50 percent off.


IKEA sells end tables for $8 and they make great kids tables as well!  The chair was the pricier item at $20.

Kids bedrooms are the perfect place to let their interests and little personalities shine!    

Thursday, February 24, 2011

Beautiful baby room...designed by Melissa

Lisa and I know many people who also love interior design and have done beautiful things in their homes...and we want to share some of their inspiration with you!  My sister in law Melissa has fabulous taste and did an impecable job decorating little Lucy's room...


Melissa had a hard time finding bedding she loved...so between her, her mom and our mother in law they made this beautiful bedding.  She used fabric by Joel Dewberry (http://www.joeldewberry.com/).  Her crib was from Bratt Decor (http://www.brattdecor.com/), but she found a boutique in Kaysville that sold it for a few hundred dollars less than the website.  Isn't it an amazing crib!   


My personal favorite is the tulle bed skirt...such a fun touch!


The mobile was from USA Baby and looked quite different originally.  She put her own touch on it to match the fabrics and colors in the room.


Love the bows sewn onto the curtains!


She found this dresser for $50 at a consignment store!  They painted it grey and added mismatched knobs from Anthropologie.  Great idea to use a regular dresser instead of a changing table to use long after the baby stage is over!  Also love the beadboard accent wall behind the dresser.  It's a cream color with a light stain over the top.


Lucy's letters were from Roberts which she painted and added glitter.  They sell glitter spray which would make this project super easy and adds a great finish.


I also love this piece of artwork that Melissa did herself.  She had seen this in a few etsy shops and figured she could do it much cheaper herself and make it a perfect match with the fabrics from the bedding.  I love how it turned out.  Just a piece of canvas and fun fabrics create a perfect little addition!


And here's the princess who dwells in this room...she's such a doll Melissa!  Thanks for sharing your pictures and beautiful ideas.  You've got quite a talent.