Our dear friend, Alisa is battling stage 4 melanoma for the 3rd time. Wanting to do something for her, Lindsay, Kallee, and I reached out willing to do anything from dinner to cleaning toilets. Well, Alisa had something in mind that was right up our alley. She wanted to redo her front room/office for her husband Josh. We jumped at the chance to help her and put our love for design in action.
Here is her room before. The desk was massive, and she needed the piano to stay as well. She wanted a seating area to enjoy and have an overall relaxing space. We had our work cut out for us.
With Lindsay at home with Katelyn, Kallee, and I set off to source and find the missing pieces.
The first store we went to was Osmond Design in Orem. We saw this chair right as we walked in and fell in love. It was the right scale, shape, size, color, and pattern.
Next, we headed to our favorite consignment shop, Home Again, and found this beautiful piece for much needed storage for the room. At $160, it was a steal.
Alisa wanted the walls to be gray. Using the green Frogger tape, we taped the ceiling and painted a coat of white over the tape edge. Then we carried the gray up the walls and the ceiling to give the allusion of more height. We left the ceiling white and LOVED how it turned out. The green tape is the best and leaves no paint bleed!
Here is the finished room. We couldn't have been happier with the result. When Alisa saw it and teared up, we knew we had hit a home run. The room is simply beautiful!
The pair of chairs made the room. We found the table at Osmond for $69. The tray also came from Osmond and was only $16. All of the accessories for the tray came from TaiPan for under $50.
I found this pillow at Target for $25. It brought such a warmth with the rich color of the stitching.
Alisa already had the beautiful mirror. We simply moved the piano to the smaller wall and added the Boxwood wreath over the top of the mirror. (Great idea Lindsay). We added simple accessories to the top of the piano. We found the bookends at Osmond for $16 and added to fake books between them.
We moved the desk to the big wall, removed the hutch, and created this perfect Pottery Barn inspired wall grouping. We found the oval clock at TaiPan for $69. The number plaques came from Pottery Barn for $39. The picture frames were also from Pottery Barn for around $25-30 with the mats included. Alisa is a photographer and took the most amazing pictures of a variety of old blue doors while in France. We picked our 3 favorites for the frames. It is a great idea to keep a common theme for pictures used as art.
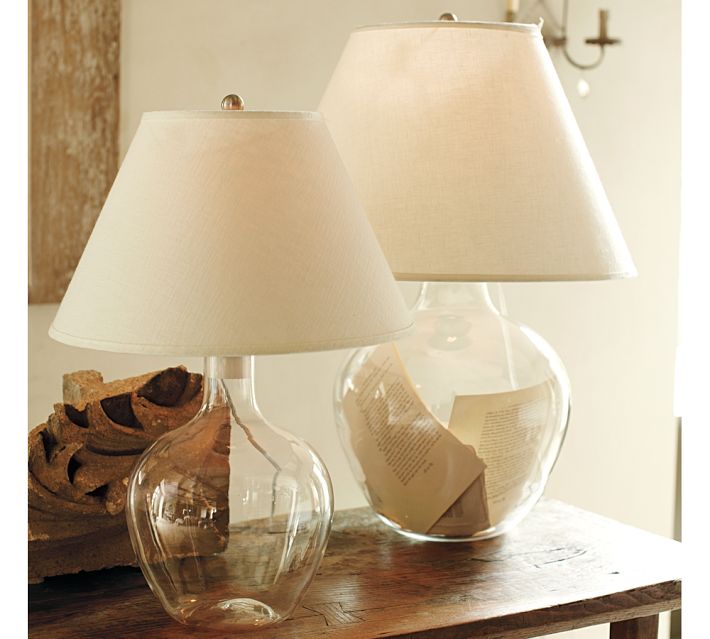
The desk accessories were a steal. I found the file items at Ikea for $15 out the door. We saw similar items at World Market for $75. The lamp was 50% off from Pottery Barn because it was the floor model. We had to have it for its architectural lines.
We reused Alisa's gold mirrors and added the jar with greenery, a grass ball, fleur de lis, and the cool book pages as art picture that I posted earlier in the week. It was the perfect grouping for the top of the storage cabinet.
We found the perfect desk chair and cushion from World Market for $169. It was pretty easy to assemble. (I did it in about 30 mins). It was just what Josh was looking for in a chair.
We had a hard time finding the perfect window treatment. I found these amazing drapes at Ikea for $60. They are beautiful and add such beauty to the room. We hung the rod next to the ceiling to create more drama for the window. Kallee found the floor lamp at Target for $25 on clearance. We moved the painting from another spot in Alisa's house as it was perfect for the room. We couldn't be more pleased with how it turned out and the peace it brings for our dear friends. We love them and continue to pray for the eradication of her cancer. We are for hire if anyone needs design help.