Showing posts with label Fabric. Show all posts

Wednesday, June 6, 2012

A Sacred Space for Grandmother

Last week, I had the pleasure of redoing Grandmother Kelley's room.  She had been in the hospital after a heart attack, and told Shaun she wanted me to come in and completely change her room.  Although she passed away before she could see it, Shaun still wanted me to finish it.  It was an honor to do so, and I could feel her spirit in the room when I revealed it to Shaun.  Here it is.


The quilt is a vintage one from Grandmother's house.  I took it with me to Home Fabrics and found four coordinating fabrics that worked perfectly.  I made the quilted shams, the throw pillows, and new drapes.  I added new artwork from Hobby Lobby.  The center picture was premade.  The side pics I put together with mats, prints, and frames.


I loved accessorizing her room.  This is one of my favorite groupings.  I love these vintage frames from TaiPan, and can't wait to put a picture of Grandmother in it.


This is my favorite grouping in the room.  The lamp was absolutely perfect and the one Grandmother liked best.  I made the floral arrangement for $14.  I loved the larger vintage frame, the clock, and the little birds.  I know it she would have loved it.


The curtain fabric was the perfect choice for this shabby chic room.  I found the metal signs at Rod Works.  They were such a great shape, color, and had the perfect message.


I love how the room came together and that Shaun loved it.  We stood in the room the night Grandmother died just talking about her.  In the quiet, Shaun whispered to me how much she missed her mother.  We hugged with tears streaming down our faces feeling Grandmother's spirit with us.  It truly is a sacred space.

Thursday, May 31, 2012

Kelly's New Room


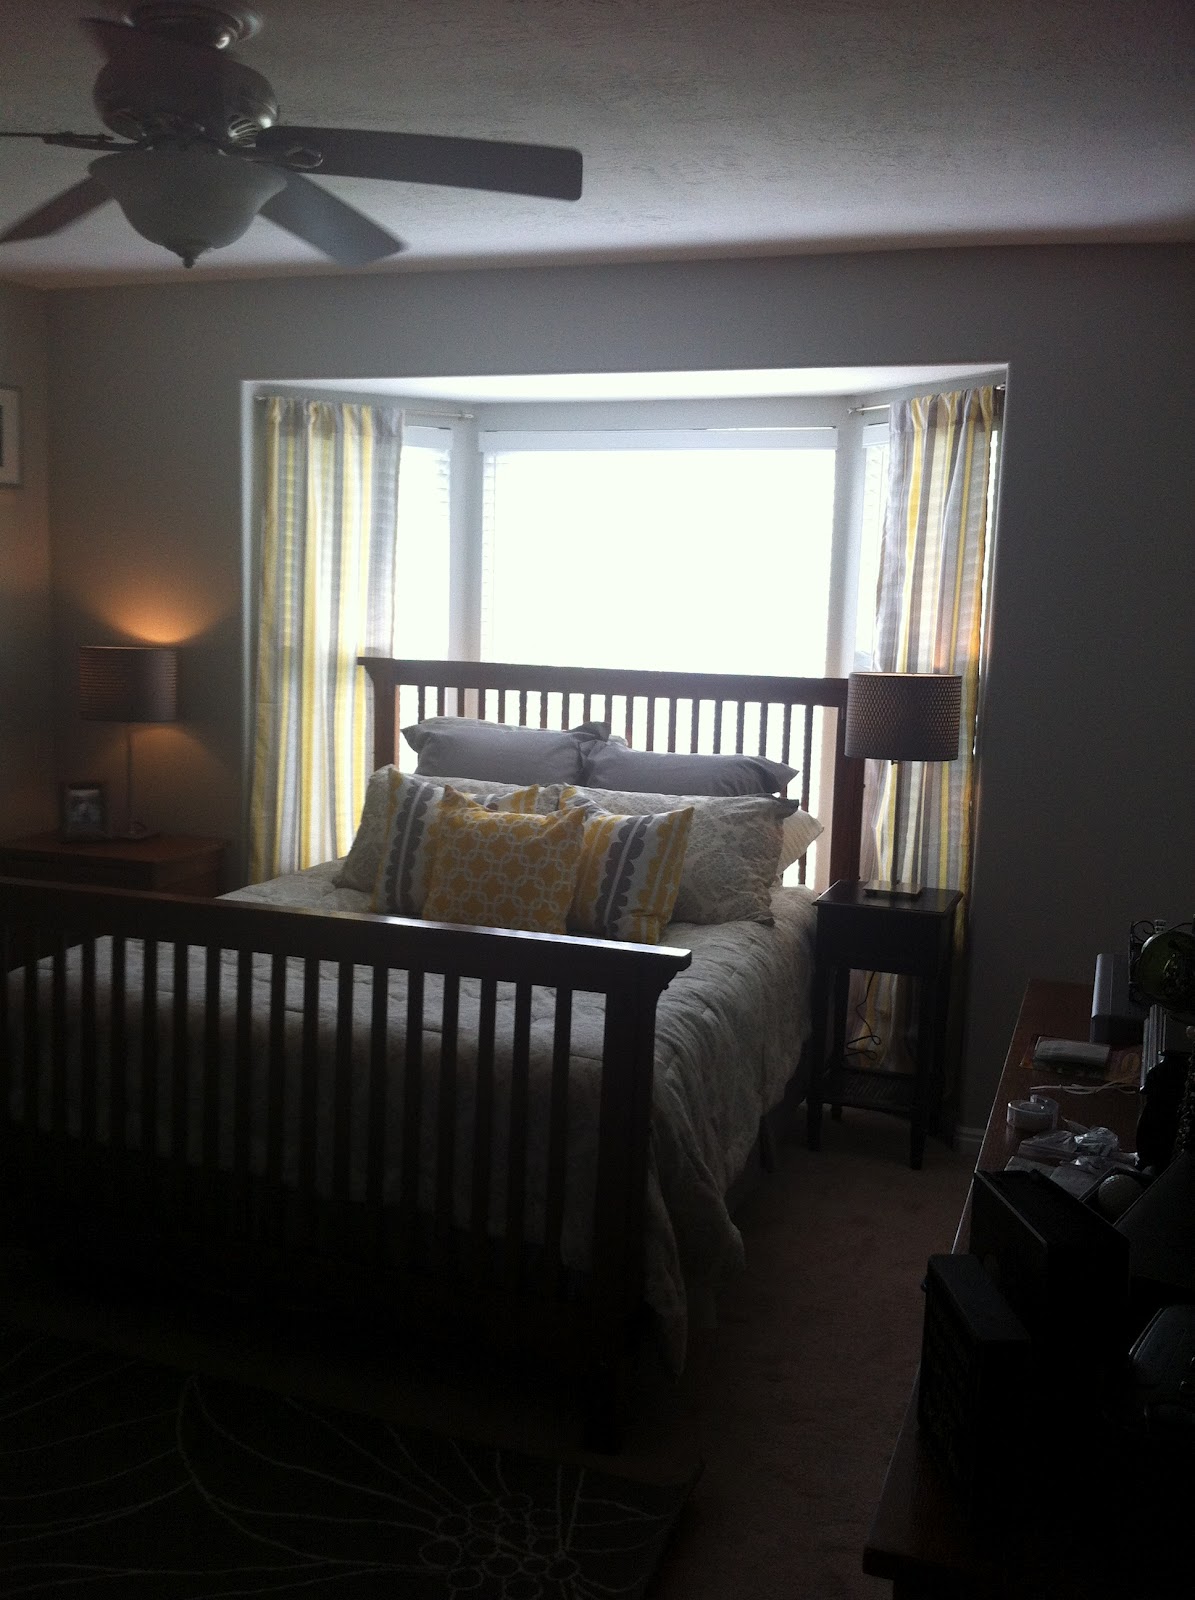
Kelly's bedroom was in need of an update from the paint on the walls to the bedding.


She wanted a yellow and gray room. It was just what I've been dying to design. We started first with new bedding. We found hers here at Target. It was the perfect subtle pattern of gray and white. I had her get a darker gray bedskirt and Euro shams to accent the bedding. Next, we looked on Fabric.com and found the perfect accent fabric here. The other fabric is sold out, but was my favorite accent in the room.  (The wall paint color is Dolphin Fin from the Behr Ultra Home Depot line.) 


I got the rug and lamps at Ikea for $20 each. They were perfect for the room. The lampshade had a basketweave texture that added another layer to the room. I made her new drapes for the bay window and custom frames for the frame wall.


I've been wanting to do a gallery wall in a bedroom but wanted to add more than just pictures.  I fabric backed the frames and mounted Kelly and Mat's initials.  Then we picked six of her favorite couple photos and framed them in the Ikea Ribba silver frames.  ($9.99 each)  In the center, I found this awesome canvas of a tree with a aqua bird.  I loved the pop of color and added the & sign and the "Love" sign to finish off the idea of the room being a couple's retreat room.  It was so much fun to work with Kelly and do this for her.  I hope she enjoys her new retreat.

Monday, May 7, 2012

Kristin's Front Room Makeover


Kristin's front room felt very dark.  She has orange couches that we couldn't change.  So, I brought in light fabrics to bring a whole new feeling to the room.  I found this fabric for her curtains again at fabric.com.  It was $9.99/yd.  As we needed to make 2-109" curtain panels, we found a bargain and only spent $65 for this fabric. 


The curtains added such light and airyness to the room.  Kristin wasn't quite sure about the fabric but trusted me.  She loved how they turned out!


 I picked these two fabrics to coordinate with our window fabric.  The floral had the perfect touch of orange as to not ignore the couches, but had such a lightness with the mixture of other colors.  I love the green geometric.  Don't be afraid to mix patterns.


I love the piano accessories.  It was such a difference from before. We brought in the green and turquoise from the kitchen colors to tie the two rooms together.


We found some great orange accessories, like this pitcher.


We rearranged her existing artwork and added a few framed quotes to balance out her picture wall.  She already had the frames, and so it cost absolutely nothing!  Love it when that happens.


Lastly, we created this little tray for the front room table.  I love the clock with the pop of turquoise.  Her front room is now bright and cheery.  As Nate Berkus says, "It rises up to meet her" when she walks in the door. 

I would love to help anyone redo a space, especially if you would like to change the fabric scheme.  We spent $100 from fabric.com and made custom drapes and 8 throw pillows.  It can be done, and I will help you from picking your fabric scheme to sewing.  I charge $20/hour for sewing, and had Kristin's project done in 3 hours.

Wednesday, October 19, 2011

Fabric ball decorations

My amazing sister in law threw the cutest party for her two year old and made the most darling decorations.  When I saw the flower balls I knew I wanted to make a few for baby girl's room.  Luckily they require no sewing and are really easy!  Here's a how to (thank you Melissa for teaching me!)
Supplies:
Styrofoam balls (cheapest at Hobby Lobby...I used 8", 4" and 3" balls)
Fabric - Melissa recommended using broadcloth because it doesn't fray easily...and it's only $2.99 a yard and Hobby Lobby has good colors to choose from.  I needed 2 1/2 yards for the 8" ball, 1 1/2 yards for the 4" and a yard for the 3".
Pleating pins (Hobby Lobby)
Fabric scissors
An object to measure the circles (4 1/2" circumference for the larger ball and 2 1/2" circumference for the smaller ones)

To start, trace circles out of your fabric.  With good fabric scissors you can fold it over four times and cut more circles at once.  Melissa's Mom let me borrow this scrapbooking tool that was the perfect size to trace the circles.  I took the measurements from it for reference...


Once the circles are cut out, fold each one in half...


...and in half again to make this:


Push a pleating pin through the layers at the bottom.  If you gather the fabric around the pin a little bit (weave it in and out of the fabric layers) it helps to shape the fabric petal better.


Stick the pin in the styrofoam and spread out the petal.  Repeat, repeat and repeat!  Eventually it will start looking like this:


You want each petal fairly close together so your ball will look full (with the larger circled petals you don't need them quite as close, but just eye it as you go and look for any gaps to fill in).

And here's the finished product:


They are such a fun decoration for a girl's room, party, shower etc.  The nursery should be done in about a month and I can't wait to reveal it on the blog! 

Monday, July 11, 2011

Fun Find...Sarah Jane Studios

I like to browse the internet pages of Etsy looking at all the creative ladies out there who make beautiful things.  I think I've found my new favorite children's fabric line from Sarah Jane Studios...
Photo courtesy of Sarah Jane Studios.com

I've always thought her artwork was great (particularly this one...need to buy it for Peyton's room) and she's now incorporated it into fabric.  Her site says this line should be hitting fabric stores mid-July so I thought I'd spread the word to be on the lookout.  It really is so sweet.

Wednesday, June 22, 2011

Sarah Richardson Inspiration-Bold Prints

 The fabric in this room is absolutely lovely.  My favorite is the use of such a bold print for the headboard.  (Click here for the tutorial on making your own headboard.)


Similarly, I love the fabric for this headboard.  Hobby Lobby has such a great selection of fun, graphic prints right now.  I spent 30 minutes on Saturday just walking through the fabric section :))  Sarah knows just what fabrics to put together.  To mimic her design, pick a bold pattern, then search for a subtle complement and a basic stripe, dot, or textured fabric.  Lay them on the fabric table in a layer to see how all will look together.  Take out what you don't like until you find your grouping of 3 to 4 fabrics.