Showing posts with label Bedrooms. Show all posts

Saturday, December 29, 2012

Vicki's Bedrooms

 
Vicki's husband brought this bed home from Korea years ago.  She wanted to make it work along with a old fashioned feel with her grandmother's quilt.  Although it was a bit daunting at first, it all came together so nicely and is one of my favorite rooms. 


We added simple linen window treatments, new bedding and throw pillows.  The antique quilt is overlayed at the foot of the bed.  The bedside tables and lamps were perfect as were the collection of accessories we found.


This floral print was a gem from Ikea.

 
I simply framed a piece of the pillow fabric for the frame insert.


The floating collage wall frame gallery was the perfect statement for this room.  It really turned out amazing.

 
This room was quite dark and cluttered with furniture.  By changing the window treatments, adding new bedding, artwork, accessories, and rearranging the furniture, it has a whole new life.


I made a simple chevron bedskirt for the crib to tie it into the rest of the bedding.  Now it is the perfect guest room for her children and grandbabies.

Wednesday, October 3, 2012

Master Redo

This was my 30th Birthday present...


 Our room had lots of brown in it before...felt boring to me. Decided to go much lighter...and I'm loving how it turned out!  We repainted the walls in Revere Pewter by Benjamin Moore.  It was a Pinterest tip and I'm glad I found it because it's a great light grey.  Lots of greys tend to pull blue or purple tones and this one is a true grey.  Love it!  The bedding is from the one and only Target!  Can't beat $90 for a comforter and two shams!


Big frame with fabric is from IKEA, $30.  Lisa sewed six of the seven pillows and I love how the sizes and different patterns work together.  The textured pillow was also from Target.  All the fabrics were $8 or less a yard from fabric.com. 


Can't beat the LACK shelf from IKEA for $15!  Thanks Lisa for help installing!  This is the more feminine side of the room (aka my side of the bed!)  Accessories from Rod Works and Taipan. 


This cute nightstand was $45 at Forget Me Not!  Sad to say their storefront has closed but they are moving to online sales!  Watch for more info about their site soon!  This lamp is only $20 from IKEA and has a great basket-woven texture on the shade.


This is the more masculine side (McKay's half).  Layered the IKEA frames and letters from Hobby Lobby.  Everything here (including the shelf) was $45!  Can't beat that!


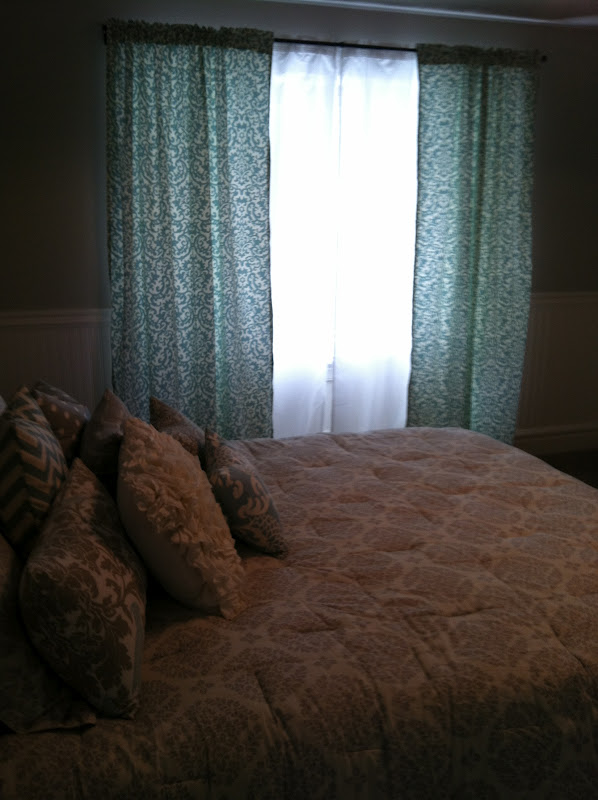
Wrong time of day to take a window picture, but the curtains are beautiful!  Lisa did a great job!  This is a great Waverly fabric from Joann's.  I did the layered curtains and the sheer panel is only $10 for both at IKEA.


And I have hated looking at TV wires for the past few years so I finally did something about it!  Thanks Jess for the owl!  Vase from IKEA, $15 and cream accessory from Hobby Lobby, $15.

This is a gift that will keep on giving and I will never forget!  Thanks to all who helped contribute to it!

Wednesday, June 6, 2012

A Sacred Space for Grandmother

Last week, I had the pleasure of redoing Grandmother Kelley's room.  She had been in the hospital after a heart attack, and told Shaun she wanted me to come in and completely change her room.  Although she passed away before she could see it, Shaun still wanted me to finish it.  It was an honor to do so, and I could feel her spirit in the room when I revealed it to Shaun.  Here it is.


The quilt is a vintage one from Grandmother's house.  I took it with me to Home Fabrics and found four coordinating fabrics that worked perfectly.  I made the quilted shams, the throw pillows, and new drapes.  I added new artwork from Hobby Lobby.  The center picture was premade.  The side pics I put together with mats, prints, and frames.


I loved accessorizing her room.  This is one of my favorite groupings.  I love these vintage frames from TaiPan, and can't wait to put a picture of Grandmother in it.


This is my favorite grouping in the room.  The lamp was absolutely perfect and the one Grandmother liked best.  I made the floral arrangement for $14.  I loved the larger vintage frame, the clock, and the little birds.  I know it she would have loved it.


The curtain fabric was the perfect choice for this shabby chic room.  I found the metal signs at Rod Works.  They were such a great shape, color, and had the perfect message.


I love how the room came together and that Shaun loved it.  We stood in the room the night Grandmother died just talking about her.  In the quiet, Shaun whispered to me how much she missed her mother.  We hugged with tears streaming down our faces feeling Grandmother's spirit with us.  It truly is a sacred space.

Thursday, May 31, 2012

Kelly's New Room


Kelly's bedroom was in need of an update from the paint on the walls to the bedding.


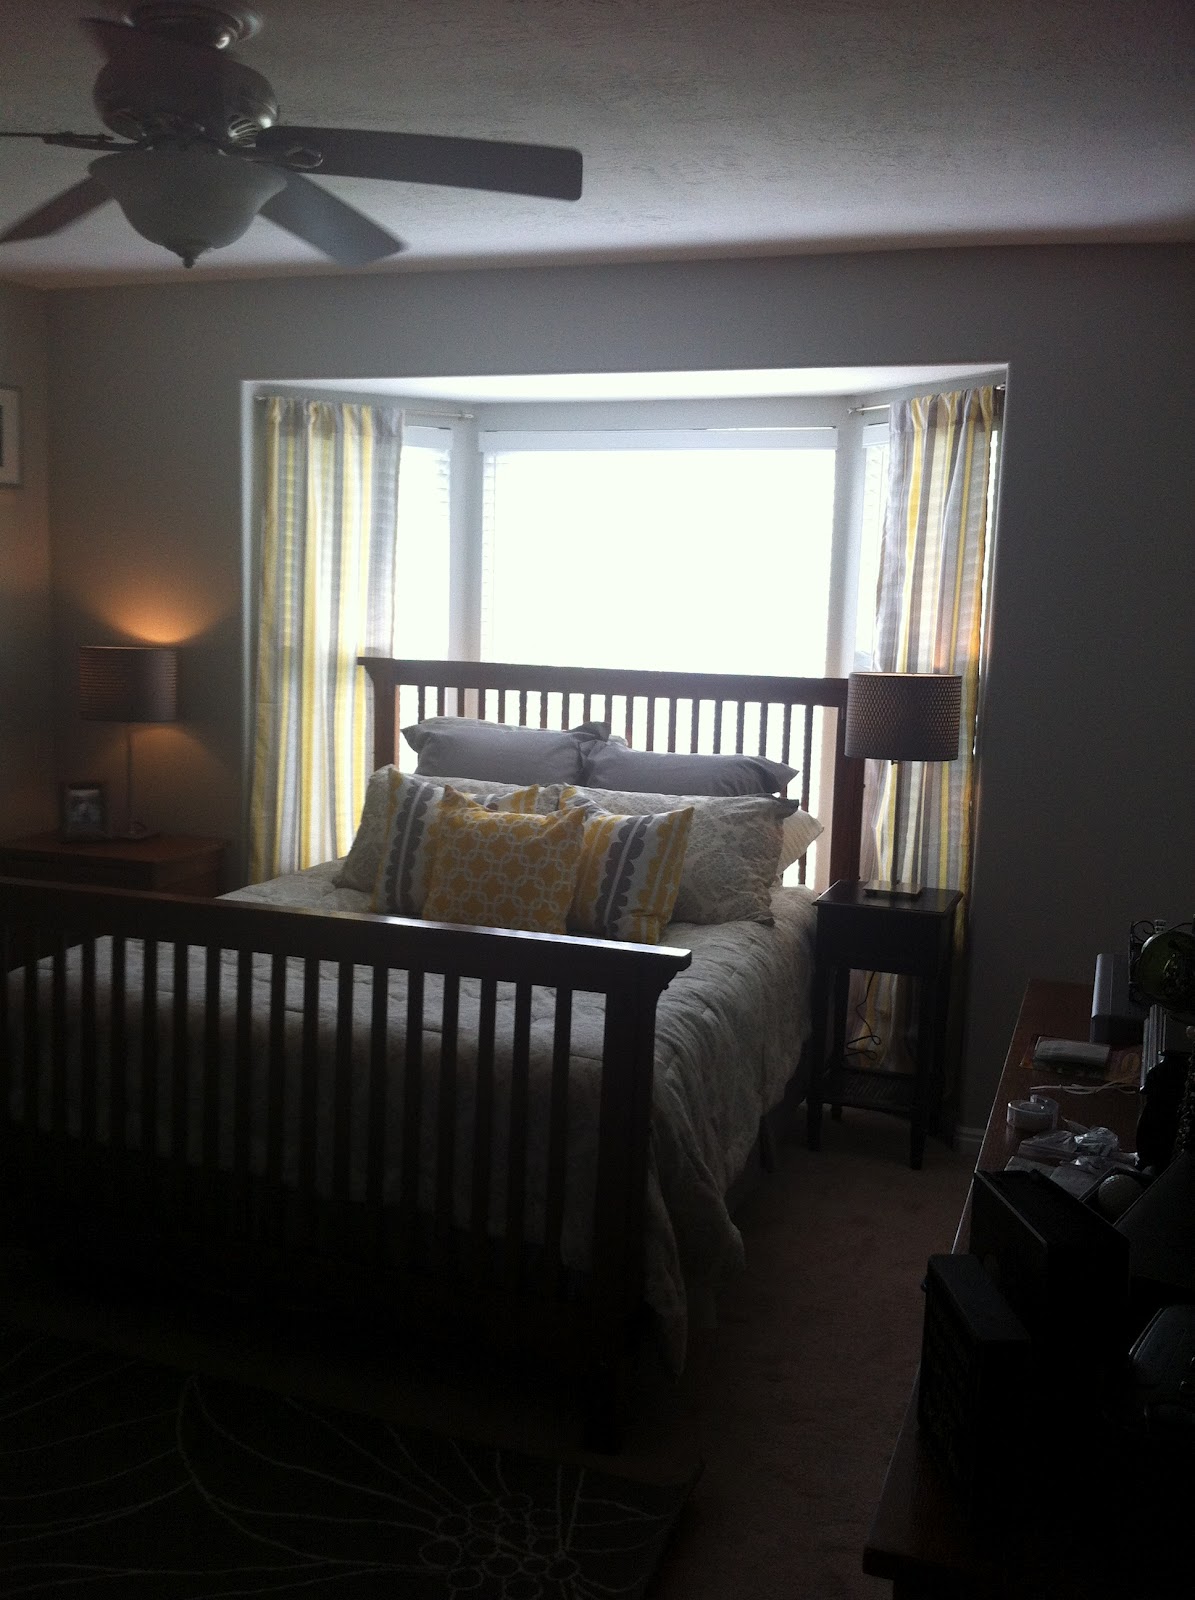
She wanted a yellow and gray room. It was just what I've been dying to design. We started first with new bedding. We found hers here at Target. It was the perfect subtle pattern of gray and white. I had her get a darker gray bedskirt and Euro shams to accent the bedding. Next, we looked on Fabric.com and found the perfect accent fabric here. The other fabric is sold out, but was my favorite accent in the room.  (The wall paint color is Dolphin Fin from the Behr Ultra Home Depot line.) 


I got the rug and lamps at Ikea for $20 each. They were perfect for the room. The lampshade had a basketweave texture that added another layer to the room. I made her new drapes for the bay window and custom frames for the frame wall.


I've been wanting to do a gallery wall in a bedroom but wanted to add more than just pictures.  I fabric backed the frames and mounted Kelly and Mat's initials.  Then we picked six of her favorite couple photos and framed them in the Ikea Ribba silver frames.  ($9.99 each)  In the center, I found this awesome canvas of a tree with a aqua bird.  I loved the pop of color and added the & sign and the "Love" sign to finish off the idea of the room being a couple's retreat room.  It was so much fun to work with Kelly and do this for her.  I hope she enjoys her new retreat.

Tuesday, February 21, 2012

Creating Drama in the Bedroom


So this curtain and rod have been good to me the past nine years in our master bedroom.  I was ready to inject some drama into my room using this wall.


I replaced the rod with a wooden one from Lowes and hung it higher to add height to the window. I purchased the curtains from Ikea, (they are the same ones from Alisa's room), and love the richness they add to the room.


Last year, we bought this painting from a street artist in Paris.  For Valentine's Day, I framed and matted it for Davy.  The custom mat was $6 from Hobby Lobby and the frame was $26.  Using it as my inspiration, I added four other pictures from our time in France at the Eiffel Tower. 


It was such a special trip and one that reminds me of just how much I love my sweet husband.  So, the bedroom is the perfect place to highlight that trip.  These frames are from Pottery Barn.


This was my favorite moment.  We were sailing down the Seine River and got right in front of the Eiffel Tower as it light up.  Perfect time for a kiss.  Look for pictures of you and your sweetheart to place in the bedroom.  It should be your sanctuary!


I love this little grouping that I found for on top of the tv boxes.  (It also hides the cords from my wall mounted tv.)  The book has a picture of the Eiffel Tower and was $6 from TaiPan.  The jar was $3 and the bell $5.  Perfect little grouping of three to tie into my theme.  Now, my master bedroom is complete!

Thursday, June 23, 2011

Sarah Richardson Inspiration-Mixing Colors

I love how Sarah mixed a whole bunch of different colors in the toss pillows of the couch.  I've always been afraid to mix more than one family of colors, but when I look at how well it works in this room, I know that I can try it in my house.


The same holds true for this room with the yellows and greens mixed in with the deep reds and blues.  Love the tufted couch at the foot of the bed.  I can't wait to have a bedroom large enough to have a tufted chair/chaise.  I am dying to make one, so if anyone wants one in her room, call me!

Wednesday, June 22, 2011

Sarah Richardson Inspiration-Bold Prints

 The fabric in this room is absolutely lovely.  My favorite is the use of such a bold print for the headboard.  (Click here for the tutorial on making your own headboard.)


Similarly, I love the fabric for this headboard.  Hobby Lobby has such a great selection of fun, graphic prints right now.  I spent 30 minutes on Saturday just walking through the fabric section :))  Sarah knows just what fabrics to put together.  To mimic her design, pick a bold pattern, then search for a subtle complement and a basic stripe, dot, or textured fabric.  Lay them on the fabric table in a layer to see how all will look together.  Take out what you don't like until you find your grouping of 3 to 4 fabrics. 

Wednesday, April 13, 2011

New Carpet, New Bedding

Last week, we re-carpeted our home.  We used Wholesale Flooring in Lindon (the same used by Lindsay) and were so pleased with the results.  We chose a memory foam pad, and thick, luscious $25/yd carpet.  It only cost $3600 to do our whole house.  As we went with a darker carpet, it was time for a lift in the master bedroom.
I found this bedding at Target for $109.  It was a king comforter with two shams.  I wanted it to tie in with the headboard and existing pillows, and I love the result.

The carpet is heaven!  I love that they tucked the carpet under each stair to make it look more polished.  I would recommend them to anyone in need of carpet!

Thursday, February 17, 2011

The Perfect Room for Boys and Girls

Let me just start by saying I love IKEA.  If you haven't been to their Draper location, you are missing out on great deals and inspiration.  A couple of months back, I helped my Mother-in-law decorate this room at her house for my niece and nephew.  We headed to IKEA for all of the items.  When decorating a room that both boys and girls will use, look for fabrics that are gender neutral but can be enhanced for either gender.  For example, we chose the plaid for the boys' bed, but used the plaid pillow as an accent on the girls' bed.  To make the girls's bed more feminine, we added an embroidered flower pillow with the colors of the room.  As a nightstand, we used the fabulous $39.99 Expedit book shelf from IKEA mentioned in Tuesday's post.  We used to wicker baskets ($16 each) for toy storage and left two shelves open for books.  A simple silver lamp with red shade which costs roughly $10 total is paired with a white tulip arrangement to finish the nightstand.  Everything came from IKEA.  The entire room, bedding, accessories, rugs, frames, lamp, nightstand, basket, and pillows cost less than $300.  Quite the bargain!

Wednesday, February 16, 2011

A Brand New Bedroom

 Before I had Khloe, I took Davy's childhood bed and refurbished it for Porter's big boy bed.  It was a natural oak finish that I had previously painted white.  So I sanded it, and painted it using black furniture paint from Four Chairs.
 To enhance the bed, I added beadboard to the insert on the headboard and footboard.  Measure your insert and cut your beadboard to size.  Using Liquid Nail, glue the beadboard in place and hold with clamps for 24 hours.  Next, caulk the perimeter.  Simply, run a thin bead of caulk and then wipe with your pointer finger.  Wipe your finger on a wet rag.  Let the caulk dry to make sure there are no gaps between the beadboard and the bed.  Then paint.  Refer to Lindsay's post about the Armoire for detailed painting, sanding, and top coat instructions.

 I also did the same to my old oak dresser.  I sanded the entire thing, cut beadboard fronts for all the drawers, glued in place using the same method mentioned above, caulked, and then painted.  I replaced the outdated knobs with new ones and got a brand new dresser for around $50.


I did the same with my old oak nightstand.  Adding the beadboard to both the drawers and doors, really updated the look.  The hinges were a bronze color, so I spray painted them silver to match the knobs.  I share this to show you that those outdated pieces in your house can easily be transformed into something new, modern, and beautiful.  I am happy to help any of you with this DIY project! 

Wednesday, January 5, 2011

Making Your Own Custom Headboard

One of my favorite do it yourself projects was making a headboard for our bedroom.  I found fabric that I loved at Hobby Lobby.  If you haven't been there, you must go.  Their fabric selection is wonderful and so reasonably priced.  To make a king headboard, you will need 3 yards of fabric.  Decorator fabric usually comes in widths between 54" to 60".  I purchased 2 packages of queen size batting from Walmart, and purchased an 8'x4' piece of particle board from Lowes had them cut it down to size (roughly 77" x 48").

 Place the right side of the fabric face down.  Place both layers of batting on top of fabric.  Place particle board on top.

 Beginning in the middle of the top of the board, pull the batting and fabric down and secure with staple gun.  Continue doing this moving out towards the corner, securing with staples every few inches.


When you get to the corner, you need to tuck the fabric in while folding the fabric over.  Watch the corner tutorial below to see what I mean.


Continue working along the sides of the headboard.  Do the top and side first so that you can then pull tight for the bottom and the other edge.  Pulling snugly will ensure that you won't have gaps.
Once all the sides are completed, your headboard is finished and simply needs to be propped between the bed and the wall.  If you have an extra tall bed, screw 12" lengths of 2"x1" every 8" along the bottom to raise the height of the headboard.

To make fabric frames, purchase 1"x2"x4".  One piece will give you enough wood to do an 18" frame.  Cut the wood in 18" lengths, put your frame together and secure sides with picture frame fasteners.  I purchased the fasteners from Lowes.  They just hammer in to secure the pieces together.  You will need 4 per frame.
Choose your fabric and cut it into a 20" square.  Lay it right side down, and begin stapling in the center of the top.  Work towards the corner and do the corner fold as shown above.

 Do the top and side first so you can pull the bottom and other side tight before stapling.  Then you are ready to hang on the wall.  Again, I found my fabric at Hobby Lobby.  I found two fabrics that coordinated well with my headboard and alternated them on the wall.  I found the frame at Osmond Designs.  I layered it on top of the fabric squares using long screws.


I love my wall treatments!  It is a great feature that is easy to customize and inexpensive to make!