Thursday, January 6, 2011

Decorating after Christmas

This year, we finally got our fireplace.  I loved how it turned out with the built-ins and glass tiles.  I also loved how it looked decorated for Christmas.   So when it was time to take down Christmas and decorate it for every day, I had my work cut out for me.

Needless to say, I am so happy with how it turned out!

Here were my key expenditures:  I bought the topiaries at Taipan this week with the 20% off one item coupon.  Although they were expensive at $55 each, they were worth it as they will be up all year long.  They are real dried boxwood and give great height next to the tv.  The rest of the decor items came from Rod Works.  I got the clock when they were doing the 12 days of Christmas and had 35% off.  All of the other items totaled about $60.  The ceramic bowl and balls in it were something I already had; I just moved their location.  Don't be afraid to look around your house and repurpose an item elsewhere.  I got all of the items over a two week period.  I left the tags on, so that I could look at them for a while to make sure that I loved how it all came together.  As I cut the tags off yesterday, I'm sure you know the answer.

Wednesday, January 5, 2011

Making Your Own Custom Headboard

One of my favorite do it yourself projects was making a headboard for our bedroom.  I found fabric that I loved at Hobby Lobby.  If you haven't been there, you must go.  Their fabric selection is wonderful and so reasonably priced.  To make a king headboard, you will need 3 yards of fabric.  Decorator fabric usually comes in widths between 54" to 60".  I purchased 2 packages of queen size batting from Walmart, and purchased an 8'x4' piece of particle board from Lowes had them cut it down to size (roughly 77" x 48").

 Place the right side of the fabric face down.  Place both layers of batting on top of fabric.  Place particle board on top.

 Beginning in the middle of the top of the board, pull the batting and fabric down and secure with staple gun.  Continue doing this moving out towards the corner, securing with staples every few inches.


When you get to the corner, you need to tuck the fabric in while folding the fabric over.  Watch the corner tutorial below to see what I mean.


Continue working along the sides of the headboard.  Do the top and side first so that you can then pull tight for the bottom and the other edge.  Pulling snugly will ensure that you won't have gaps.
Once all the sides are completed, your headboard is finished and simply needs to be propped between the bed and the wall.  If you have an extra tall bed, screw 12" lengths of 2"x1" every 8" along the bottom to raise the height of the headboard.

To make fabric frames, purchase 1"x2"x4".  One piece will give you enough wood to do an 18" frame.  Cut the wood in 18" lengths, put your frame together and secure sides with picture frame fasteners.  I purchased the fasteners from Lowes.  They just hammer in to secure the pieces together.  You will need 4 per frame.
Choose your fabric and cut it into a 20" square.  Lay it right side down, and begin stapling in the center of the top.  Work towards the corner and do the corner fold as shown above.

 Do the top and side first so you can pull the bottom and other side tight before stapling.  Then you are ready to hang on the wall.  Again, I found my fabric at Hobby Lobby.  I found two fabrics that coordinated well with my headboard and alternated them on the wall.  I found the frame at Osmond Designs.  I layered it on top of the fabric squares using long screws.


I love my wall treatments!  It is a great feature that is easy to customize and inexpensive to make!

Tuesday, January 4, 2011

A Quick Fix

So, I absolutely love my bedding, but it acquired a few stains over the years from my little kids.  When I couldn't find another I liked better, I decided upon adding a chocolate brown duvet.  I have to say that although it is one more blanket, I love the look.  It covers the imperfections and adds a polish to the room.  I bought mine at Target on sale for $49.99.  It was a queen duvet with two pillowcases.  So if you have something you love, try to find a way to fix it instead of throwing it out!

Monday, January 3, 2011

$5 Instant Clean Update

If you're like me and have lived in your house longer than 5 years, it is hard at times to keep your house looking like new.  My fun find for today is an inexpensive update that will make one of the most important seats in the house instantly brand new!

 For $5, you can purchase a brand new toilet seat from Target and have an instant update that is super easy!

 To remove the existing seat, unscrew the lid from the underside of the toilet.  There are bolts on both sides.  Once it is removed, clean the entire top of the bowl.

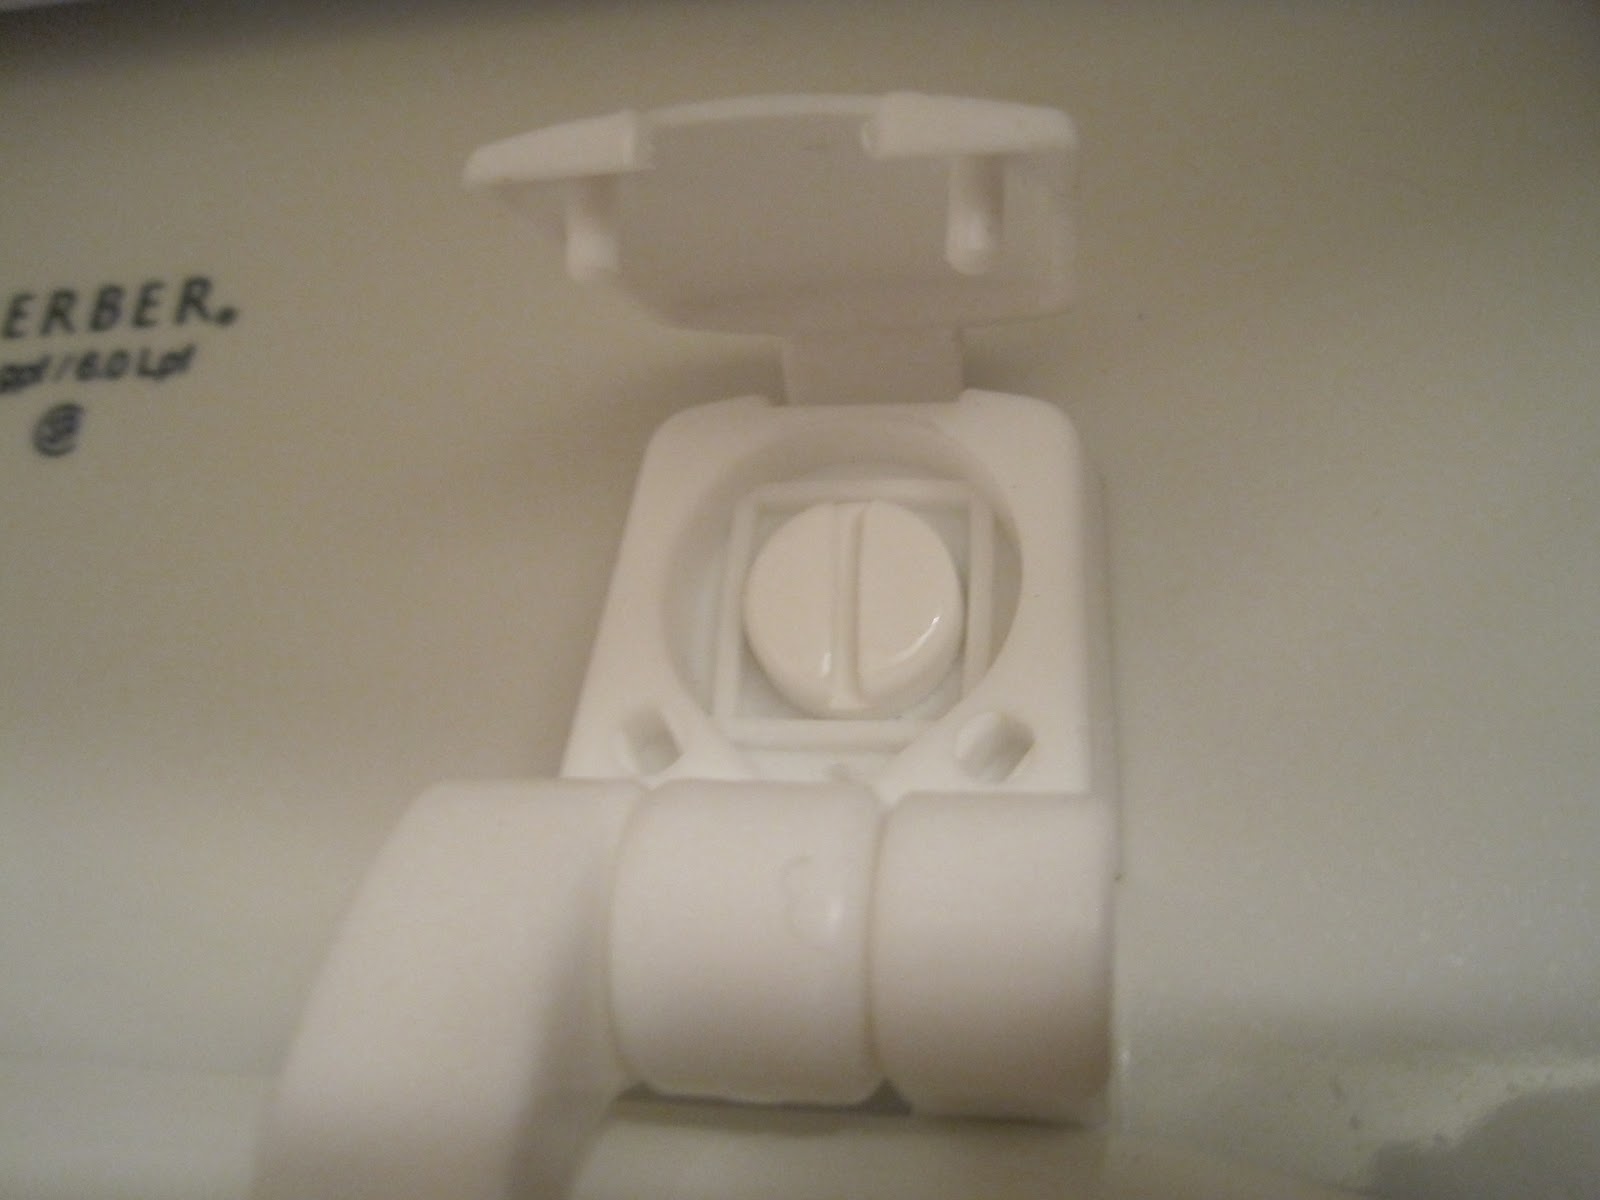
 Open your new lid and pop open the bracket covers.

 Position the new seat and thread the bolts through the holes.  Use a flat head screwdriver to hold bolt in place while you,

 tighten the wing nut from the underside of the toilet.

Repeat on other side and push down the screw covers.  Say goodbye to that grime that can't be scrubbed off and hello to your brand new throne!  The cheapest update I've found yet!

On another note, this month's drawing is for a $25 Gift Certificate to Real Deals.  Remember, to be entered into the drawing, make sure you are a follower.  In addition, for every comment you make or follower you bring to our blog, you get an additional entry.

Friday, December 31, 2010

The end...

...of 2010.  Hope its been a fabulous year for all of you.  We hope the past few months we've been able to give you a little bit of inspiration for your homes and lives.  We look forward to sharing lots of great ideas in 2011!  Check in Monday for our January drawing announcement! 

If there's anything you'd like us to feature or highlight this next year let us know!  We'd love to hear from you!

Today I thought I'd share a little list of resolutions I saw on Haley Warner's blog a little while ago (she's a great photographer who does mini-shoots at a reasonable price a few times a year.  Check out her blog at haywusup.blogspot.com).  Although they focus on young Moms, I think there's at least one resolution for everyone in the list...

1.  I will embrace the fact that I am not perfect
2.  I will get down on the floor and play with my child(ren) everyday
3.  I will take care of my body
4.  I will learn to love the chaos
5.  I will make family dinner a priority
6.  I will focus a little more on my marriage
7.  I will make time for my friends
8.  I will remind myself daily that time with my children is precious

May 2011 be a wonderful year for all of us.  Happy New Year!

Thursday, December 30, 2010

A few party favorites...

If you're planning a get-together tomorrow night, here are two delicious things to add to the menu...

Cranberry Slush
(Thanks to my friend Kristin for sharing!)

Photo courtesy of Taste of Home.com
1 quart pineapple juice
1 quart cranberry juice
1 cup sugar
1 tablespoon almond extract
1-2 bottles Sprite (the pomegranite 7-UP would be great too!)

Most pineapple and cranberry juices come in 2 quart containers...you can make two batches and save one for later!  Combine all ingredients except Sprite and pour into 1-2 gallon Ziplock bags.  Freeze for at least 3-4 hours before serving.  It should be frozen, but able to be broken easily.  Place in bowl and add Sprite.


Meatballs
Photo courtesy of Culinary Circle.com

These are SO easy and yummy.  All you need is...

Bag of frozen meatballs (I buy the bag at Costco)
1 jar chili sauce (Homemade Chili Sauce is the best...Fresh Market and Walmart)
1/2 jar grape jelly

Place frozen meatballs in crockpot and add chili sauce and grape jelly.  Let cook on low for 3-4 hours or high for 1-2 hours.  We've also done bbq sauce instead of chili sauce and it's great too!


Wednesday, December 29, 2010

Decluttering for the new year

Lisa gave me a subscription to Better Homes and Gardens magazine and I love it!  It's only $5.99 for a year...highly recommend it!  This month included an article on 25 ways to declutter your home for the new year (pg. 39 if you have a copy).  Lisa and I picked our five favorite tips to share with you and here are mine...

"A system that's a natural extension of your habits is easier to stick with than one that forces dramatic change.  So set up solutions right where clutter collects, such as a labeled pail for each family member's shoes and other equipment."


Photo courtesy of Better Homes and Gardens Magazine
  I am a huge fan of wicker baskets.  They look good and can also serve a very functional purpose.  Put one at the bottom of your stairs or near an area that often gets cluttered with "stuff".  It's an easy way to quickly gather everything and put it in it's right place! 


"Create a repair center for clothes that need mending, toys that need batteries, things that need gluing.  That way, unusable items aren't in general circulation, and you know where to look when you have time to tackle a project." 

"Relegating a sentimental item you no longer have use for to a box in the closet, basement, or attic does nothing to honor it.  Instead, take a photo of the item and put it in a scrapbook or load it on your digital picture frame.  Then donate the item.  It's both space-saving and respectful."

"Each spring and fall, do CPR on your closet:  Categorize, Purge, and Rearrange.  Carefully consider each item.  If it doesn't make you feel wonderful or look fabulous, it's a no.  Put it in the "to donate" box, and put that box in your car right away."

"If you're having trouble letting go of clutter, whether it's too many things in your house or too many commitments eating up your time, think about what it requires you to sacrifice.  Less stuff means less to organize and less money spent.  Fewer activities means less running around and more family time."  

 I also thought I'd share one organizational tip of my own.  For the longest time I had a cluttered mess of pens, phone books, papers, etc. overflowing in a larger cabinet space.  I decided to dedicate one drawer in my kitchen for these things and get rid of the rest.  It really has made such a difference! 

Organization makes me so happy.  Make a commitment in 2011 to live a more organized life and I promise it will make a positive impact on everything you do!