Thursday, September 1, 2011

School Memories Journal

Thanks to Kallee for this idea in preserving your children's school memories.  This is a great template for those who want to make their own or you can click here to purchase one from Lillian Vernon.  Gotta love back to school!

Wednesday, August 31, 2011

A New Swing


My mother-in-law had this porch swing in desperate need of attention.  So, the other weekend I set out to recover it!


Found this great fabric at Hobby Lobby in the decorator fabric's section.  It is heavy and will stand up well to the elements.


I made a simple 1 inch seam all the way around, leaving a channel for elastic.  Using 5/8" elastic, I threaded it through the entire thing leaving elastic tails at each end.


Place it over the cushion and pull to desired tightness.  Remove, sew elastic together, and then sew seam shut.


With a coat of brown spray paint and the recovered-cusion, it is a brand new swing!  Recovering cushions is just that easy.  Simply measure your project to be recovered, allow for 1" seams on both sides, sew slip cover, cover cushion, and you are done!

Tuesday, August 30, 2011

The Perfect Bow

Hobby Lobby has a great selection of bolts of ribbon.  They are usually 50% off, so you can spend less than $3 for an entire bolt.

Start by cutting a length of ribbon 19".  Make a figure 8 and then sew with a needle and thread through the middle to secure the ribbon.  Repeat 3-4 times with the same and coordinating ribbon.


Layer the ribbon in your hand.


Sew through the middle to secure all pieces together.


 Tie a knot in a skinny coordinating ribbon.

Wrap around center of bow and sew to back of ribbon.  Add a pinch clip to the back.  I used the coordinating skinny ribbon and made a few more figure 8s.  Khloe had the perfect bow to go with her dress for preschool.  Click here for more instructions on darling bows.  They are easy to make and have step by step instructions.

Monday, August 29, 2011

Hobby Lobby Girl Fabrics

My Khloe started preschool this week.  I saw this fabric at Hobby Lobby and had to have it to make a dress for her.  They have such cute fabrics that are always 30% off, so for $5 she had a new dress.  Here are step by step instructions to make yours.  I bought 1 yd of fabric.  Measure height of child from chest to ankle.  Cut off extra.


Hem top and bottom of fabric.


Create a one inch hem at top and thread elastic through opening.  Put a safety pin on one end.  It makes it super easy to thread through.


Fit around child's chest and sew elastic together.


Position coordinating ribbon ties in four spots, two on front and two on back to tie at armpits.


It really is "sew" easy!  Check back tomorrow for how to make darling bows for back to school!

Friday, August 26, 2011

Our Best Bites...

I've been wanting this cookbook for awhile and I got it last night!  I play Bunco with a group of friends and won it!

You can buy it at Costco for around $16.  There are quite a few delicious recipes in here.  They also have a website where they post new recipes all the time.  One I thought I'd link you to is for the Brazilian Lemonade.  I had it at a friends house a few months ago and it is delicious!  If you've ever had one at Tucanos it's very similar!

I'll be trying new things out and sharing what my favorites are!  Hope everyone has a great weekend!

Thursday, August 25, 2011

Hobby Lobby Accessories

I've purchased the shelf for Peyton's room and am now just waiting for the legs of the shelf to come in at IKEA.  In the meantime I'm currently looking for the accessories.  I've found a few...all from Hobby Lobby...and all great prices! 

Letter P sign...$3.00 (half off)
Bike...$12.00 (40 percent coupon)
Metal Jack...$7.00 (half off)

You can always find something great there...sometimes you just have to wander!  I'll share the finished wall in Peyton's room when its ready!

Wednesday, August 24, 2011

Pennant Banner

Using the fabrics I showed you on Monday I finished Peyton's pennant banner!  I really love it and it will add so much to the finished look of his room.  I also did it without sewing one stitch!  Lisa is nice and helps me with my sewing projects but I was excited I learned how to do something without it too!  Here's how...

I started by cutting a pattern for my triangles out of cardboard.  It was about 8 inches across the top.


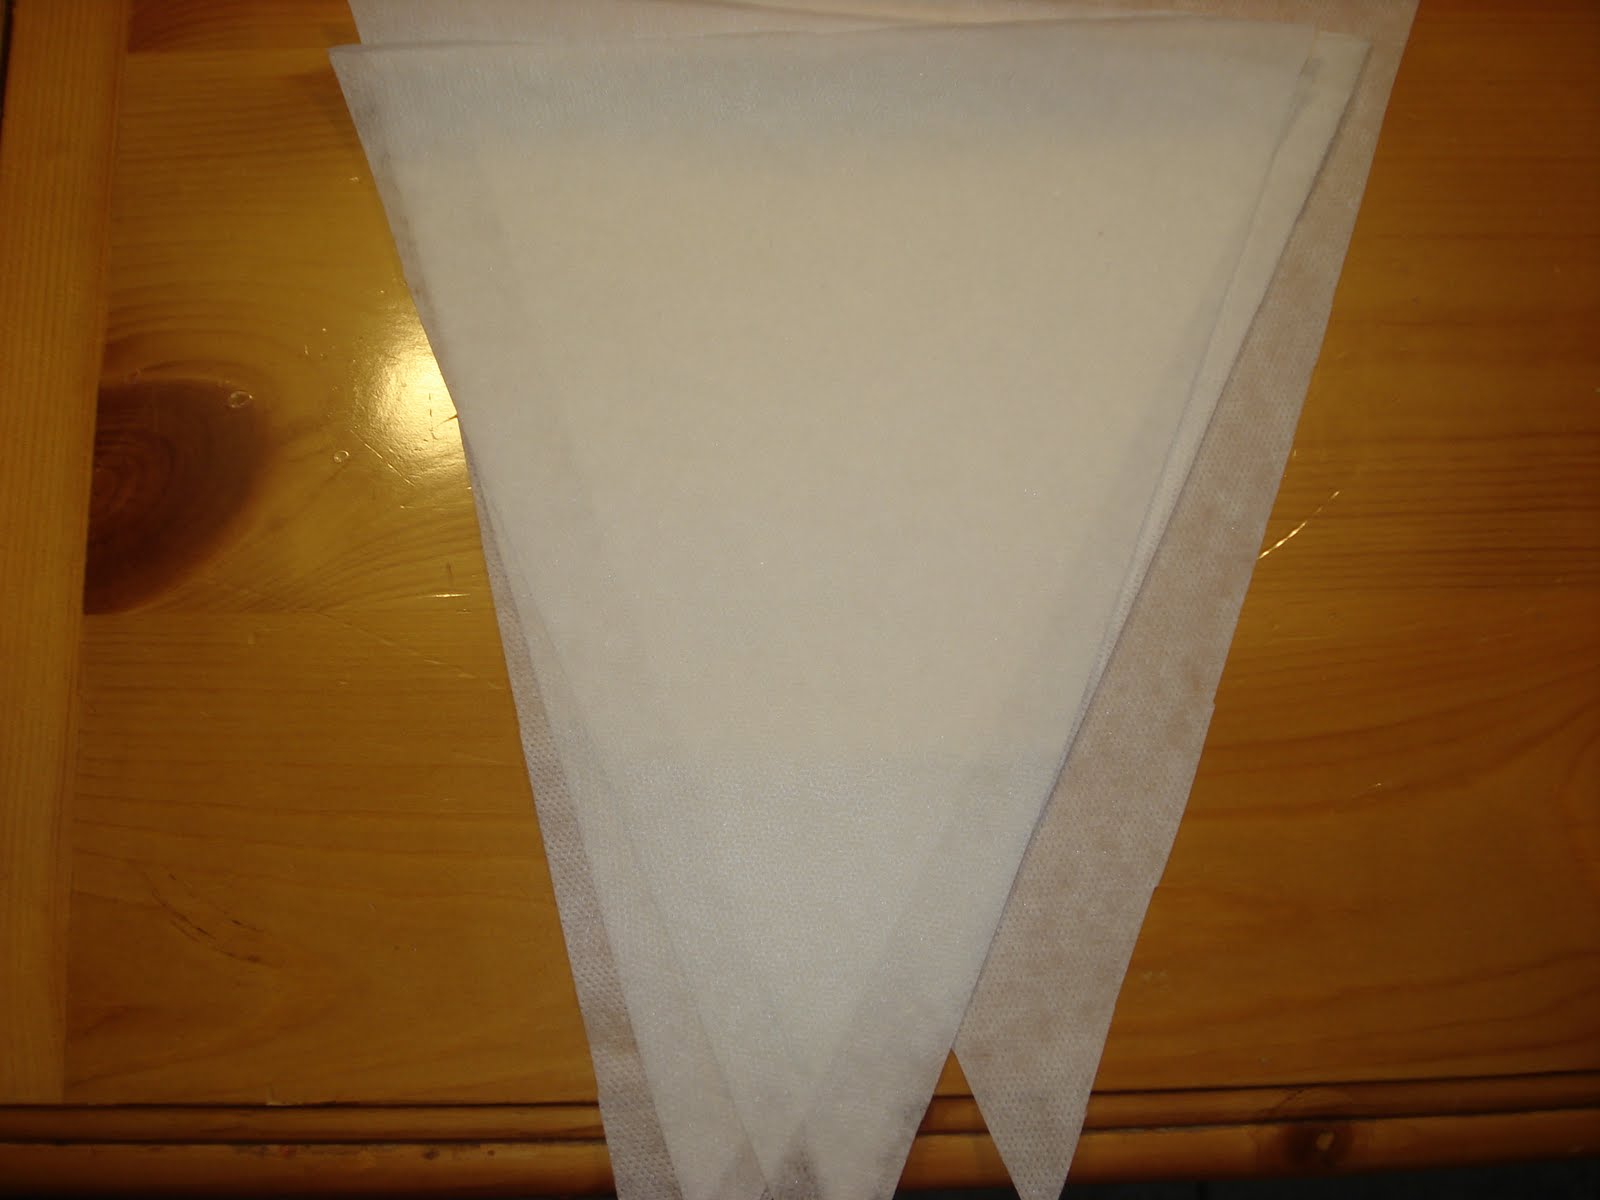
You can fold your fabric in half to get two triangles at once.  I traced the pattern with a pen and cut. 


To give the triangles thickness I used fusible interfacing (I bought two yards).  I bought it at Nuttall's in American Fork (53 W. Main Street).  I used the pattern to cut the same amount of triangles out of the interfacing (my banner ended up needing 14 triangles). 


To fuse the interfacing, you put the sticky side to the fabric (lining it up perfectly so they bond well), place a thin cloth over the top of the fabric, spray the cloth wet and slowly iron down the fabric...about 15 seconds for each section of the fabric.  The interfacing also comes with instructions on how to do this.


Once all the triangles were backed with interfacing it was time to tie them together.  I also purchased Stitchwitchery bonding tape at Nuttall's.  It's a thin interfacing type material about 1/2 inch wide.  You can't see it really well, but it's laid out on the top of this triangle...


I chose the lemon grass grosgrain ribbon from Walmart to tie the triangles together.  We attached two at a time by laying down the bonding tape first and lining the ribbon up perfectly on top of it.  Same process as above with bonding the interfacing.  You just don't want to do too many at a time so your ribbon stays straight and even. 


Once they were all attached to the ribbon we were done!  Really so easy!  I chose these small hooks from Hobby Lobby ($3.99 each) to hang the banner.


And here's the finished product!


Thanks for your help Lisa!  It turned out great and I can't wait to finish the room!